
Pangolin Reverse Proxy Setup
Pangolin is a self-hosted tunneled reverse proxy and access manager. No open ports on the origin server, WireGuard tunneling via the Newt agent, and a web dashboard for managing everything.
Status
stable
Difficulty
intermediate
Time Required
40m
Last Tested
Not tested
What Pangolin Does
Pangolin is a self-hosted alternative to Cloudflare Tunnel + Cloudflare Access. It acts as a reverse proxy with identity-aware access control, but the key difference from something like Traefik is that your origin server never needs any inbound ports open.
The connection from your server to Pangolin runs outbound via a WireGuard-based tunnel using an agent called Newt. Traffic flows like this:
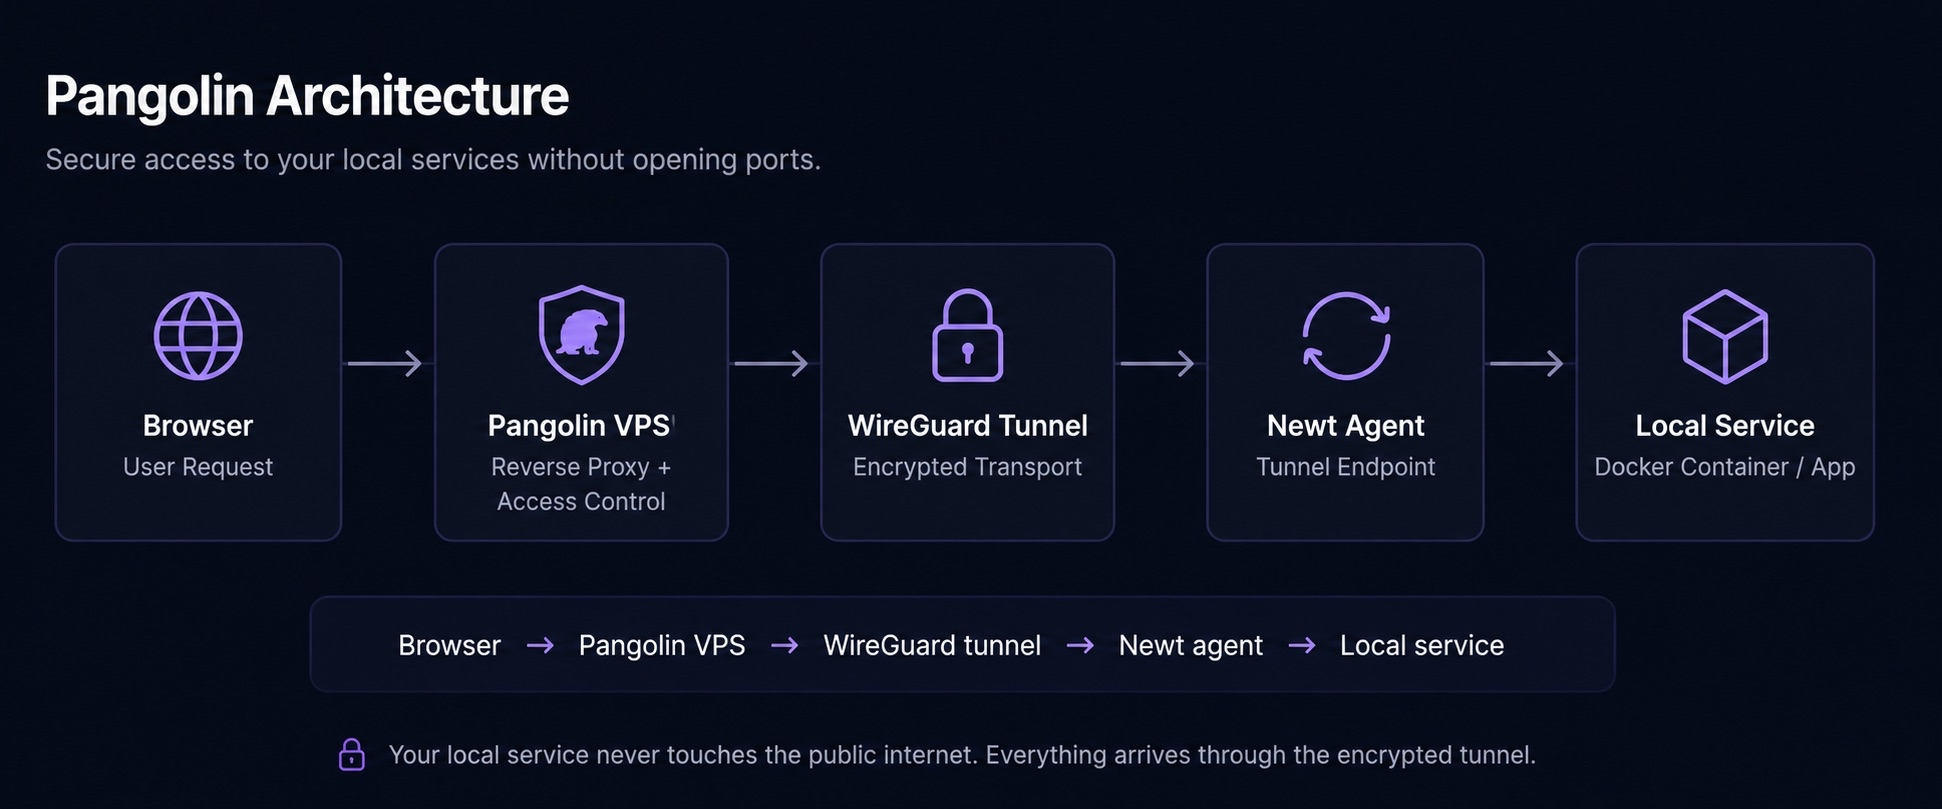
Your local service never touches the internet directly. Everything arrives through the tunnel.
Components
- Pangolin — the central proxy server. Runs on a VPS you control.
- Newt — the tunnel agent. Runs on your origin server (homelab, home server, etc.).
- Gerbil — handles the WireGuard tunnel layer under the hood.
Why I Use This
My main servers are on a residential connection with CGNAT. Port forwarding doesn't work cleanly and I'd rather not expose ports anyway. Pangolin gives me clean HTTPS access to homelab services without depending on Cloudflare proxying everything. I own the VPS, I own the proxy — nothing routes through a third party I don't control.
Deploying Pangolin on a VPS
On your VPS, pull the Compose setup from the Pangolin repo:
curl -o compose.yml https://raw.githubusercontent.com/fosrl/pangolin/main/compose.yml
cp config.example.yml config.yml
Key values to set in config.yml:
domain— the domain pointing to your VPS for the Pangolin dashboarddashboard_port— port for the admin UIacme_email— for Let's Encrypt cert generation
Start it:
docker compose up -d
Pangolin handles SSL automatically via Let's Encrypt once the DNS is pointed at the VPS.
Installing Newt on the Origin Server
On the server running your services, install the Newt agent:
curl -fsSL https://raw.githubusercontent.com/fosrl/newt/main/install.sh | sudo bash
Configure it in /etc/newt/config.yml:
pangolin_url: https://your-pangolin-domain.com
token: your_site_token_from_dashboard
Enable and start:
sudo systemctl enable newt --now
Adding Services in the Dashboard
- Log into the Pangolin dashboard
- Create a new site — this generates the Newt token
- Add resources to the site: set the internal hostname/port and the public-facing subdomain
- Pangolin creates the routing and provisions the cert automatically
Once Newt is connected and the site is configured, the service is reachable at the hostname you set — no DNS record management needed beyond pointing the domain at Pangolin.
Access Control
Pangolin has built-in access management:
- Password-protected shareable links — good for sharing specific services temporarily
- OIDC/SSO — wire it to your identity provider
- Email-based one-time access — for ad-hoc sharing without creating accounts
For internal services I use no additional auth layer since the tunnel itself is the access gate. For anything I share externally, password-protected links are the go-to.